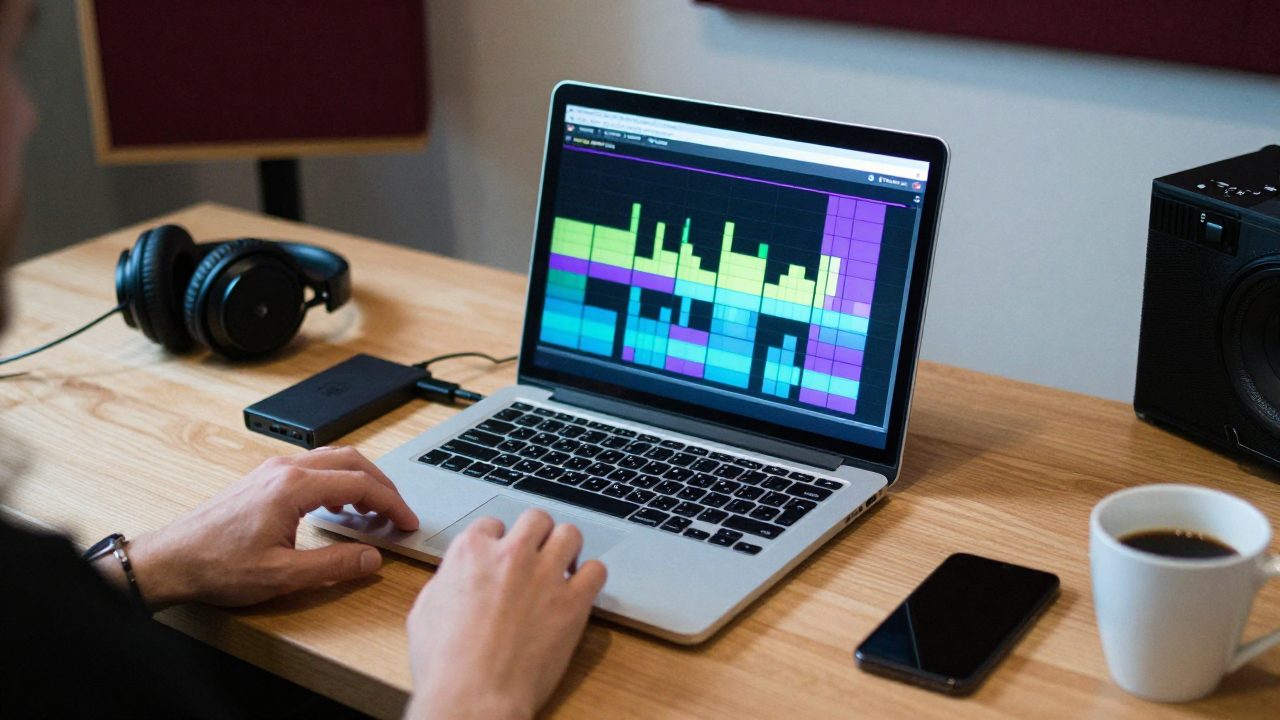
When a song arrives for mixing, the first hour is often spent on tasks that have nothing to do with music: working out which track is which, realigning offset files, asking for a missing part. Good preparation avoids this lost time and ensures the engineer works on the right version of every element.
Tracks or stems: what are we talking about?
Tracks are the individual elements of your session: kick, snare, lead vocal, verse guitar… Stems are groups of tracks: all drums on one stereo file, all vocals on another, and so on. For mixing we prefer to receive separate tracks; stems are rather for stem mastering or distribution.
1. Export in the right format
- WAV (or AIFF) files, never MP3 for mixing.
- 24-bit resolution (or 32-bit float).
- The same sample rate as your session (44.1, 48 or 96 kHz). Do not convert it.
- Mono tracks exported as mono, stereo tracks as stereo. A vocal recorded with one microphone does not need to be stereo.
2. A common start point
All tracks must start at exactly the same place, ideally at bar 1 or the very beginning of the session, even if the instrument only plays two minutes in. That way, simply importing them lines them up. This is the most common mistake, and the most costly to fix.
3. Name things clearly
A name like "Audio 14_03.wav" says nothing. Use a consistent format: number, instrument, detail. For example: 01_Kick_In, 02_Kick_Out, 10_Bass_DI, 20_Gtr_Verse_L, 30_Vox_Lead, 31_Vox_Double. The numbers group instrument families in order.
4. What about effects?
The general rule: export tracks without the corrective processing (EQ, compression) you added to get an idea, but with the effects that are part of the intended sound (creative distortion, an automated filter, a synth with its own delay).
When in doubt, supply both versions: "Vox_Lead_dry" and "Vox_Lead_fx". In any case, remove the limiter or mastering processing from the master bus.
5. Check the levels
No track should clip. Aim for peaks around −6 dBFS or so, without normalising. If a track clipped during recording, tell us: we will see together whether a retake is possible.
6. Information to include
- The tempo (and any changes) and the key.
- Your rough mix: it shows us the balance you have in mind.
- Two or three reference tracks whose sound you like, with what you like about each.
- What should stand out and what should stay in the background.
- The versions you expect: instrumental, a cappella, radio edit.
7. Sending the files
Put everything in a compressed folder (ZIP) named after the artist and the song, and send it with a file transfer service of your choice. Keep a copy of the original session on your side: that is your backup.
Checklist
- 24-bit WAV, original sample rate.
- All tracks start at the same point.
- Clear, numbered names.
- No limiter on the master bus; creative effects kept.
- No clipping.
- Tempo, key, rough mix and references included.